
- 1. TypeScript Express tutorial #1. Middleware, routing, and controllers
- 2. TypeScript Express tutorial #2. MongoDB, models and environment variables
- 3. TypeScript Express tutorial #3. Error handling and validating incoming data
- 4. TypeScript Express tutorial #4. Registering users and authenticating with JWT
- 5. TypeScript Express tutorial #5. MongoDB relationships between documents
- 6. TypeScript Express tutorial #6. Basic data processing with MongoDB aggregation
- 7. TypeScript Express tutorial #7. Relational databases with Postgres and TypeORM
- 8. TypeScript Express tutorial #8. Types of relationships with Postgres and TypeORM
- 9. TypeScript Express tutorial #9. The basics of migrations using TypeORM and Postgres
- 10. TypeScript Express tutorial #10. Testing Express applications
- 11. TypeScript Express tutorial #11. Node.js Two-Factor Authentication
- 12. TypeScript Express tutorial #12. Creating a CI/CD pipeline with Travis and Heroku
- 13. TypeScript Express tutorial #13. Using Mongoose virtuals to populate documents
- 14. TypeScript Express tutorial #14. Code optimization with Mongoose Lean Queries
- 15. TypeScript Express tutorial #15. Using PUT vs PATCH in MongoDB with Mongoose
Once our application is up and running, we want to deploy it. In this article, we explain what Continous Integration (CI) and Continuous Delivery (CD) is. We use Travis and Heroku as an example, but the knowledge can be used with other tools also. Both Travis and Heroku can be tried out for free.
Continuous Integration
The main principle of Continous Integration is integrating all of the code into a shared space and creating automated builds detecting any problems on the way. As soon as we merge changes to the master branch, a new version of our application is created. The CI process involves running all of our tests – if any of them fail, the flow stops. This is where our tests can shine and prevent us from deploying a nasty version of our application. To create such a flow, we use Travis.
After logging in to Travis using Github, we go to the repositories page when we have the list of all of our repositories. We activate the repository that we want to use with Travis.
![]()
The first thing to do is to create a .travis.yml file. It contains information that Travis needs to handle our project. Let’s keep it simple for now:
.travis.yml
|
1 2 3 4 5 6 |
language: node_js node_js: - lts/* script: - "npm run lint" - "npm run test" |
Pushing the above file to the master branch triggers a build. In this process, the above scripts run – first the linter, second the tests.

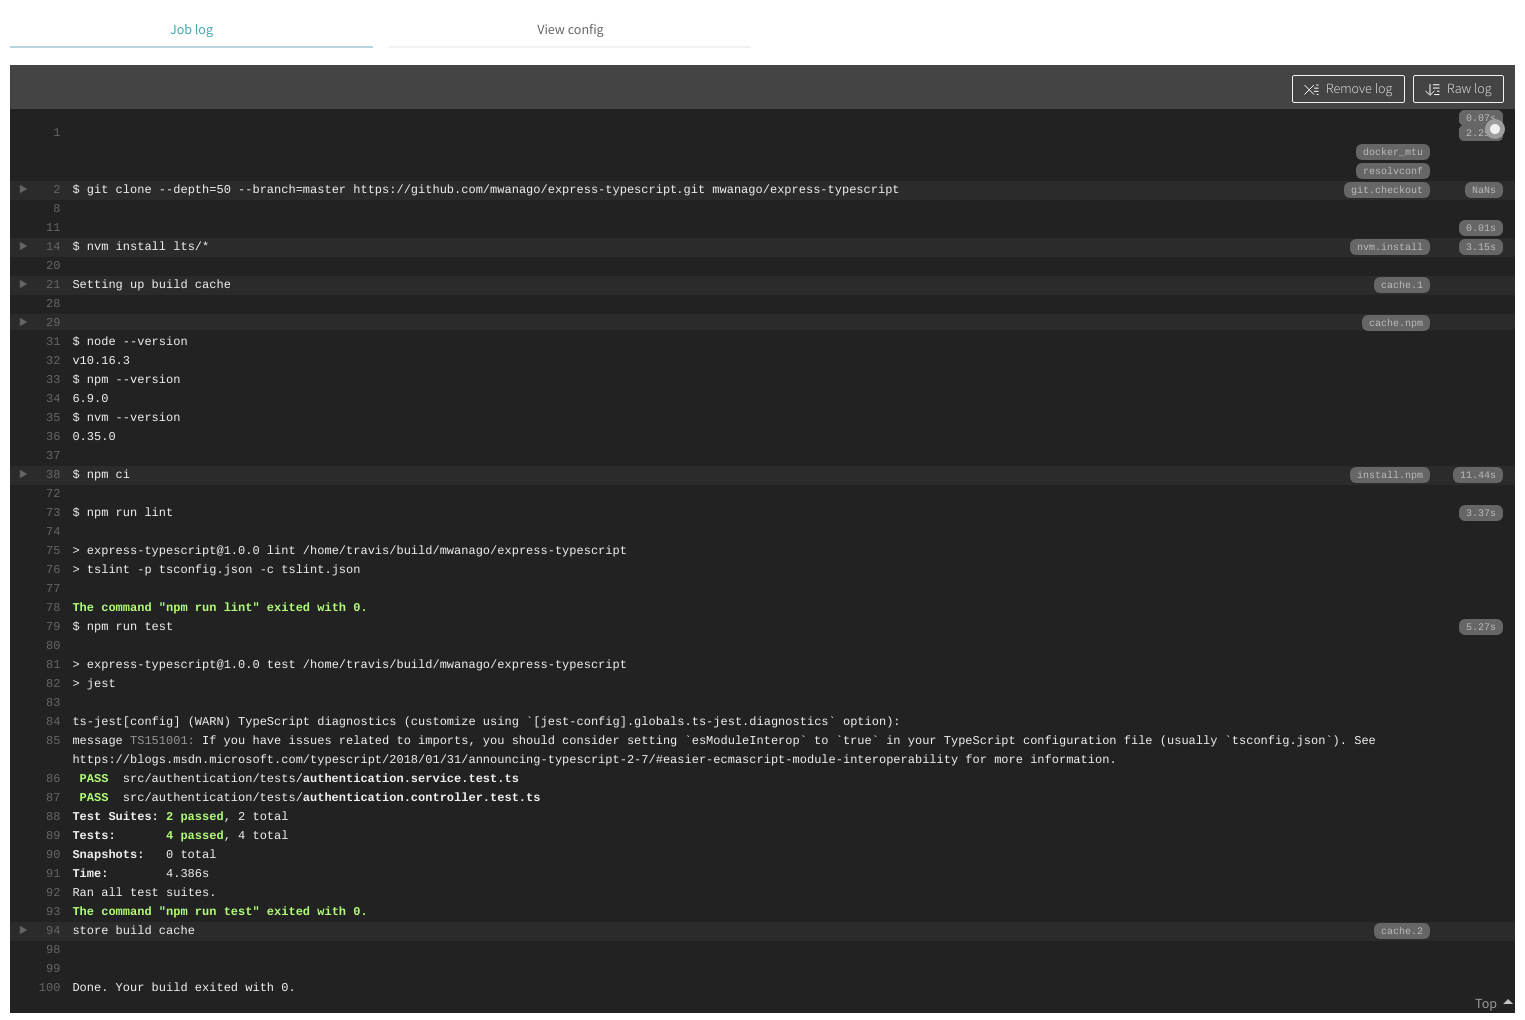
In the screenshot above, we see that npm run lint and npm run test exited with a code 0. It means that no errors happened, and we are good to go.
Building only for specific branches
You can specify what branches you want to create builds from by creating a safelist. By creating a blocklist, you prevent some branches from causing new builds. To do that, add them in the .travis.yml file
|
1 2 3 4 |
# blocklist branches: except: - legacy |
|
1 2 3 4 |
# safelist branches: only: - master |
Pull requests
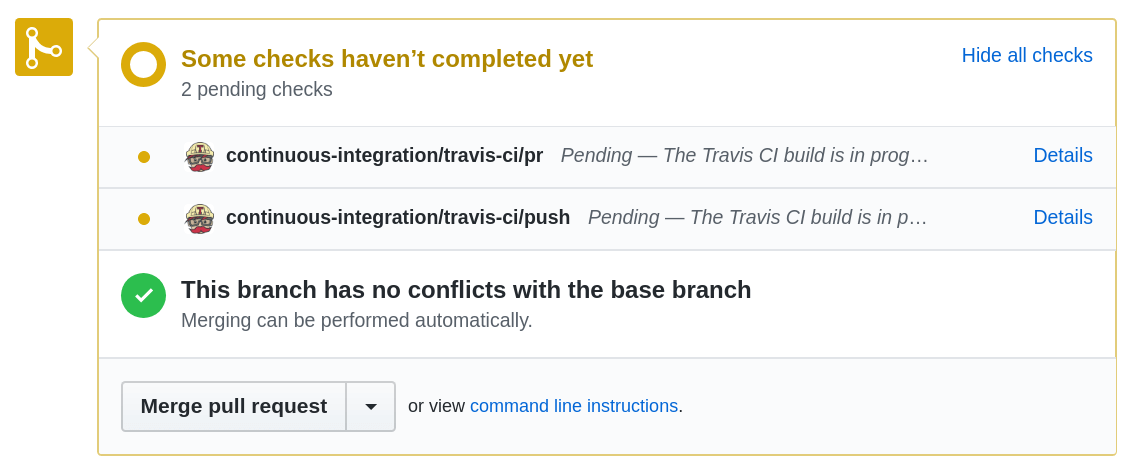
Travis has robust integration with Github. When you create a pull request, Travis runs a build to determine if the new code is valid and does not result in errors. Thanks to that, you can know beforehand if the pull request you are about to merge might cause you some problems.
Continuous Deployment
Another fundamental concept that we introduce today is Continous Deployment. With it, our application deploys automatically with every new version.
The above approach is similar to the Continous Delivery where features are also frequently delivered, but are not deployed automatically
We implement Continous Deployment using Heroku. Every time Travis notices a new version of our code and successfully runs tests, we want to deploy a new version of our application.
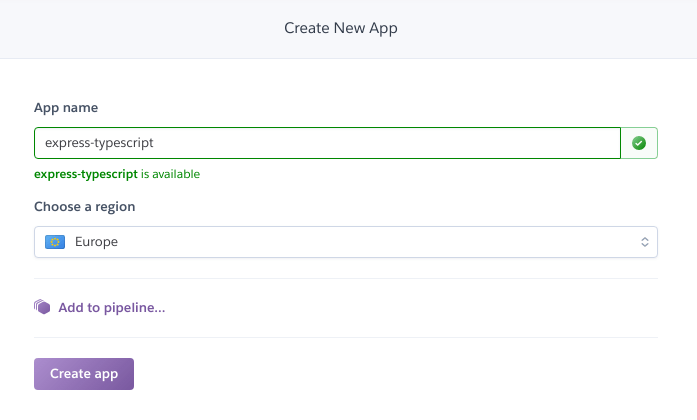
By default, Travis expects the application to have the same name as the repository and will assume the application to be configured in Heroku using the same name. Let’s create it using the Create New App interface.
A significant thing that we need to configure in the Heroku interface are te environment variables.

In the interface above, we need to put all the variables that we previously held for development purposes in the .env file.
The Heroku injects the PORT variable and you don’t need to provide it
Heroku, by default, runs the npm start script, so we need to make sure that we provide it in the package.json file.
|
1 2 3 4 5 |
"scripts": { "start": "ts-node ./src/server.ts", "lint": "tslint -p tsconfig.json -c tslint.json", "test": "jest" } |
Also, keep in mind, that before deploying, Heroku removes all the packages listed in the devDependcies. If you need some package to remain installed, remember to list it under dependencies.
The above behaviour can be change by setting NPM_CONFIG_PRODUCTION to false in the Heroku configuration
Now, let’s modify our .travis.yml file a little:
.travis.yml
|
1 2 3 4 5 6 7 8 |
language: node_js node_js: - lts/* script: - npm run lint - npm run test deploy: provider: heroku |
Thanks to the above, we specifically say that we want Travis to work together with Heroku. The next step to make it happen is to install Travis and Heroku command-line interface. To install it on ubuntu, we use snap.
|
1 |
sudo snap install travis |
|
1 |
sudo snap install --classic heroku |
Once we’ve got both CLIs, let’s proceed with the installation. First, we need to authenticate with Heroku and let it create a valid API key.
|
1 |
heroku authorizations:create |
The above command redirects us to the browser where we can log in. Once we’ve dealt with it, we can encrypt the API key:
|
1 |
travis encrypt $(heroku auth:token) --add deploy.api_key |
Running the command above modifies our .travis.yml file by adding the api_key. It is encrypted, and we can safely commit it to our repository.
.travis.yml
|
1 2 3 4 5 6 7 8 9 10 |
language: node_js node_js: - lts/* script: - npm run lint - npm run test deploy: provider: heroku api_key: secure: g+u2GUIt8kUjsgG... |
Thanks to the above configuration, every time the Travis finishes up, Heroku deploys a new version of the application. You can always check out the logs by running:
|
1 |
heroku logs -a express-typescript |
If you add the --tail flag you can observe the logs in real time
Now, a successful Travis build results in Heroku deployment!

Summary
Thanks to doing all of the above, our application is now live! Every time we push changes, the Travis lints, and tests our code. If that’s successful, it delegates the deployment to Heroku. Travis and Heroku are tools that are very easy to use, but thanks to learning them, we can feel more confided trying other solutions like Jenkins. Every tool mentioned in this article can be tried out for free. Go and experiment on your own, because there are way more configuration options that you can explore.
